
How should a Bali villa be protected from water?
Waterproofing is a system, not a product name. The design, falls, drainage, joints, penetrations, substrate, installation, testing and maintenance all have to work together before finishes hide the result.
For a Bali villa, identify every wet or exposed area during design, coordinate levels and drainage before construction, select a complete system suitable for the substrate and exposure, follow the manufacturer's current preparation and installation requirements, detail joints and penetrations, inspect each layer before it is covered, and complete the specified tests and records. Bathrooms, roofs, terraces, pools, planters, retaining conditions, façades and ground contact need project-specific details from the relevant qualified professionals and specialist installers.
Why Bali increases water-risk exposure
Heavy rain, humidity, wind-driven water, open-air transitions, pools, planted areas and year-round wet-room use can expose weak details quickly. Site levels, soil and groundwater conditions, coastal exposure, existing structures and maintenance access vary, so a generic product specification cannot replace project-specific design and assessment.
Treat waterproofing as one coordinated system
Mixing individually good products without system compatibility or correct sequencing can still fail. Confirm the full build-up and responsibilities before ordering.
- Structure and substrate condition
- Falls, thresholds and finished levels
- Primary and overflow drainage
- Membrane, primer and compatible accessories
- Joints, corners and changes of material
- Pipe, drain, fixture and railing penetrations
- Protection layer, screed, adhesive and finish
- Testing, records and maintenance access
1. Map every water-exposed zone
Create a waterproofing schedule that names the location, exposure, substrate, system, drainage, inspection and test requirement. Unlisted areas are easily missed between trades.
- Bathrooms, showers and WC wet zones
- Kitchens, laundries and service rooms
- Flat roofs, pitched-roof junctions and gutters
- Balconies, terraces and external stairs
- Pools, spas, water features and equipment rooms
- Planters, landscape edges and irrigation zones
- Retaining walls, basements and ground-contact slabs
- Façades, windows, doors and indoor-outdoor thresholds
2. Coordinate levels and falls before the render becomes a drawing
The design must allow water to move to the intended outlet without crossing a door, pooling under a finish or relying on sealant alone. Coordinate structural levels, screed thickness, drain bodies, thresholds and accessible transitions early. A beautiful flush detail needs a workable drainage and waterproofing strategy behind it.
3. Check the substrate before application
A membrane cannot correct an unstable or incorrectly formed substrate. The responsible installer and project professionals should record preparation and reject unsuitable areas before waterproofing begins.
- Strength, stability and readiness of concrete or screed
- Cracks, voids, honeycombing and previous repairs
- Moisture condition required by the selected system
- Cleanliness and removal of dust, laitance or contamination
- Formed falls and smooth transitions at corners
- Curing and preparation requirements from the system provider
4. Detail joints, corners and penetrations
Most leaks begin at transitions rather than in the middle of a flat area. Show how the system turns up walls, crosses construction or movement joints, connects to drains, seals pipe penetrations and terminates at doors, windows, balustrades and equipment. Use compatible proprietary accessories and current manufacturer details where applicable.
5. Bathrooms and internal wet areas
Tile and grout are finishes, not the primary waterproofing system. Confirm ventilation, splash exposure and access to concealed valves as part of the complete wet-room design.
- Define wet-zone extent on drawings
- Coordinate drain position and floor falls
- Detail wall-to-floor junctions and door thresholds
- Seal pipe and mixer penetrations within the system
- Coordinate niches, benches and concealed cisterns
- Inspect before screed, adhesive or tile conceals the work
- Test using the approved project method before finishes
6. Roofs, balconies and terraces
External horizontal surfaces receive sun, rain, movement and construction traffic. The project team should define the system, slopes, outlets, protection and test sequence before pavers, decking or finishes are installed.
- Positive drainage to primary outlets
- Overflow route for blocked drainage
- Upstands and terminations above the wet level
- Door and window threshold coordination
- Movement joints and large-area cracking strategy
- Protection from following trades
- Safe access for cleaning gutters and outlets
7. Pools, spas and water features
Coordinate structure, joints, penetrations, pipe sleeves, lights, drains, inlets, overflow channels, plant-room connections and finish compatibility as one specialist system. The pool structure and waterproofing need their own inspection and test plan from appropriately qualified specialists; a bathroom detail should not simply be copied into a pool.
8. Walls, windows and indoor-outdoor openings
Rain can enter at sill ends, frame junctions, façade cracks, roof-wall intersections and unprotected openings. Coordinate flashings, drips, sealant joints, weep paths and finished ground levels. Use mock-ups or water testing where appropriate to the façade system and project risk.
9. Ground contact, retaining conditions and planters
Below-grade water and planter irrigation need drainage, protection and root or soil interfaces designed for the actual condition. Confirm groundwater, soil, retaining structure and access with the relevant survey, geotechnical, structural and waterproofing professionals. Do not rely on an internal coating to solve an unresolved external water source.
10. Inspect before the work is covered
The contract should require notice before covering and state responsibility for reopening work that was concealed without inspection.
- Approved system and batch information recorded
- Substrate and falls accepted
- Corners, joints and penetrations complete
- Required thickness or coverage evidence recorded
- No damage from other trades
- Outlet and termination details photographed
- Test completed and result signed
- Protection layer accepted before following work
11. Use the test required for the system and location
Flood, spray, hose, ponding or other tests are not interchangeable. The qualified project team and system provider should define the correct method, duration, safety controls and acceptance criteria for each location. Testing must not overload a structure or damage adjacent work.
12. Protect the membrane after approval
Approved waterproofing can be punctured by scaffolding, fasteners, tile work, balustrades, MEP changes or stored materials. Define the protection layer, access restrictions, repair approval and photographic record. Retest affected areas when the project team or system provider requires it.
Waterproofing red flags
- No waterproofing plan, schedule or named system
- Product selected after levels and drains are built
- Flat surface with no verified route to an outlet
- Sealant used as the only solution at a major junction
- Unapproved mixing of products from different systems
- Pipe or railing penetrations added after testing
- Membrane covered before inspection or test
- No photographic record of concealed details
- Leak repair attempted only from the visible interior side
- No access or maintenance plan for drains and gutters
Connect testing to payment
The construction payment schedule should identify waterproofing inspections and tests before the related work is valued as complete. Require the payment application to include the relevant records. Retain leverage for defect correction and complete handover documents rather than paying solely for installed finishes.
Hitomi Villa: design information versus site evidence
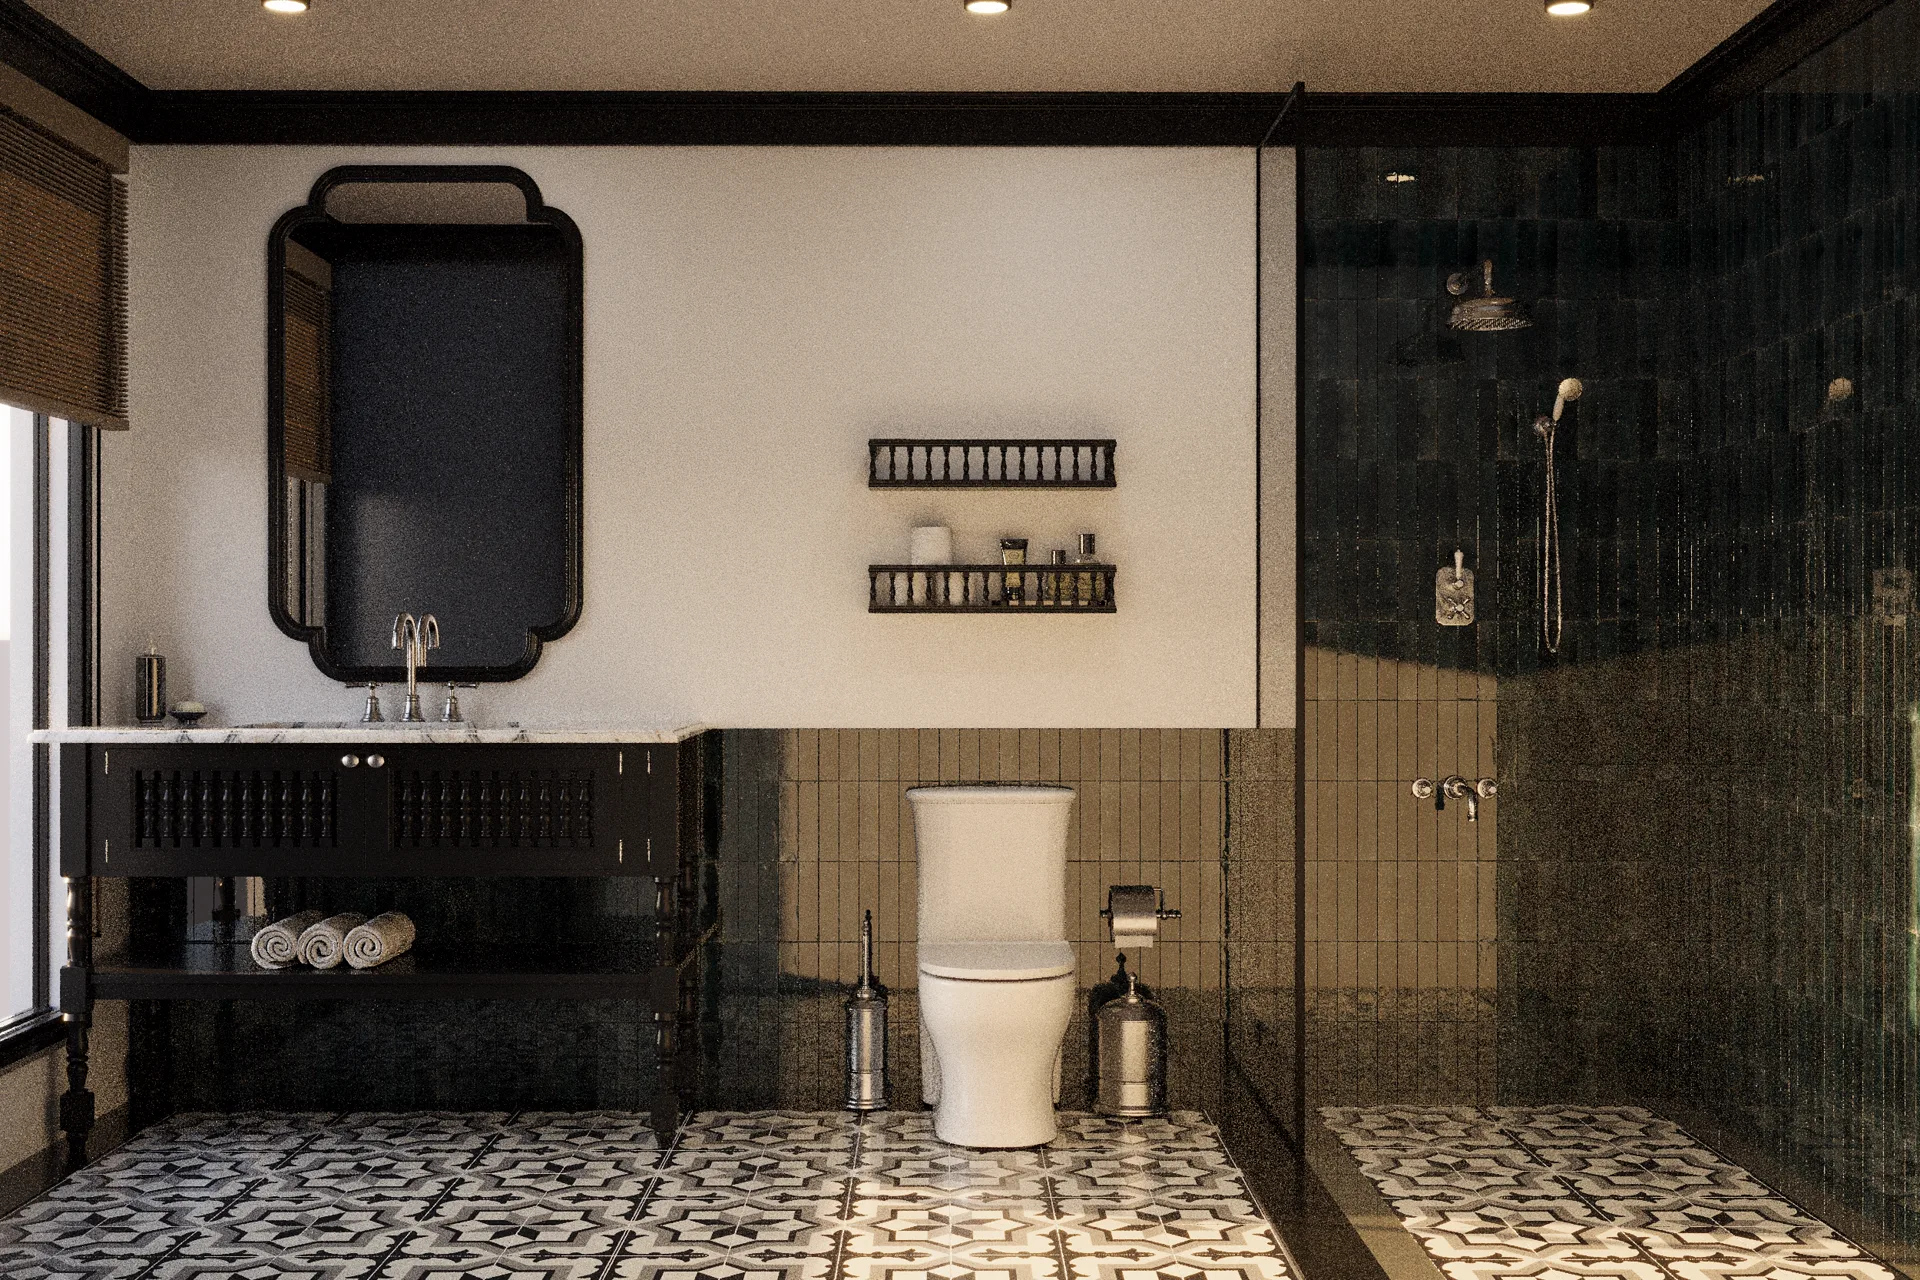
Hitomi Villa is documented with renders, drawings and real construction photographs labelled separately. The bathroom image above is a design visualization; it communicates space and finish intent but cannot prove concealed waterproofing. Site inspection, testing and records must verify the installed system.
What to include in handover
- Approved waterproofing schedule and as-built locations
- Product and installer records
- Inspection and test reports
- Photographs before concealment
- Repair and retest records
- Manufacturer and specialist warranties where applicable
- Cleaning, maintenance and access instructions
- Named contacts for future defect reporting
Common questions
What areas of a Bali villa need waterproofing?
Common areas include bathrooms, laundries, roofs, terraces, balconies, pools, planters, retaining conditions, ground-contact elements and selected façade or opening junctions. The actual extent and system must follow the project design and specialist advice.
Are tiles and grout waterproof?
They should not be treated as the primary waterproofing system. Wet areas normally require a coordinated substrate, membrane, joints, drains and compatible finish build-up designed and installed for the location.
How should bathroom waterproofing be tested?
The responsible professionals and system provider should specify the appropriate test method, duration, safety controls and acceptance criteria. Testing must be completed and recorded before finishes conceal the work.
When should waterproofing be inspected?
Inspect the prepared substrate and falls, key details during installation, the completed system before covering, and any repaired or damaged areas. Project-specific hold points should be included in the programme and contract.
Can waterproofing leaks be fixed from inside?
A surface repair may not address the water source or failed detail. Investigate the path, structure, drainage and system condition with appropriately qualified professionals before selecting a repair strategy.
Does Element certify waterproofing work?
Element can coordinate design intent and agreed site-review scope. Product selection, specialist installation, structural matters, testing and certification must remain with the appropriately appointed and qualified parties defined for the project.
Should waterproofing affect contractor payments?
Yes. Link the relevant milestone to completed details, inspection, testing and records before the work is covered. The exact valuation and retention rules belong in the project-specific contract.